# SSH 사용자 계정 추가 방법

## 1. 가상서버에 새 계정을 추가하기

* OS별 접속 계정(ID) 정보
  * Rocky 계정 : "rocky"
  * Centos 계정: "centos"
  * Ubuntu 계정: "ubuntu"

shell 에서 "**useradd**" 명령어를 사용하여 새용자 계정을 추가합니다.&#x20;

다음 예시는 새로 생성하고자 하는 ID가 cafe24 일 때입니다.

<div align="left"><figure><img src="https://filesystem.cafe24.com/hosting/cloud_service/2020/03/10/29eab1495d2b7b841a1a5b35f0397ed7_1583809098.png" alt=""><figcaption></figcaption></figure></div>

명령어: **sudo useradd -s /bin/bash -d /home/cafe24 -m cafe24**

* useradd 옵션
  * -d  : 사용자의 홈 디렉토리를 지정&#x20;
  * "-u " : 사용자 계정의 UID 지정
  * "-g " : 사용자 계정의 GID 지정&#x20;
  * "-s " : 로그인 시 사용할 기본 쉘 지정&#x20;
  * "-c " : 사용자 계정의 코멘트 지정&#x20;

신규로 생성한 cafe24 계정 사용시 sudo 패스워드 없이 사용 가능하도록 설정합니다.

명령어: **sudo echo "cafe24 ALL=(ALL) NOPASSWD: ALL" | sudo tee /etc/sudoers.d/cafe24**

<div align="left"><figure><img src="https://filesystem.cafe24.com/hosting/cloud_service/2020/03/10/16f3d3cc383903918ae7488d8ff38517_1583809103.png" alt=""><figcaption></figcaption></figure></div>

## 2. 신규 계정에 공개키 등록하기&#x20;

다음 방법 중 하나를 택하여 신규 계정에 공개키를 등록할 수 있습니다.&#x20;

* [기존에 생성한 키페어 사용하기](#1)
* [신규 키페어 생성하여 사용하기](#2)

### **(1) 기존에 생성한 키페어 사용하기**

<mark style="background-color:blue;">웹콘솔 > 보안서비스 > SSH 키페어 > 상세정보 > 공개키정보 확인</mark>&#x20;

기존에 만들어져 있는 키페어의 공개키를 등록하는 방법입니다.&#x20;

웹콘솔에서 공개키를 확인합니다.

<div align="left"><figure><img src="https://filesystem.cafe24.com/hosting/cloud_service/2022/09/29/d12093fee6bc997b131db4be5c22ffc2_1664433573.png" alt=""><figcaption></figcaption></figure></div>

shell에 접속하여 공개키를 등록합니다.

<pre class="language-shell-session"><code class="lang-shell-session"># sudo su - cafe24
# pwd
# mkdir .ssh
# chmod 700 .ssh
# touch .ssh/authorized_keys
# chmod 600 .ssh/authorized_keys
<strong># vi .ssh/authorized_keys
</strong></code></pre>

웹콘솔에서 확인한 공개키를 복사하여서 authorized\_keys 파일에 저장해주시기 바랍니다.

<div align="left"><figure><img src="https://filesystem.cafe24.com/hosting/cloud_service/2020/03/10/b32cb3d320dabf2fa1be60755b298854_1583809134.png" alt=""><figcaption></figcaption></figure></div>

&#x20;

### **(2) 신규 키페어 생성하여 사용하기**

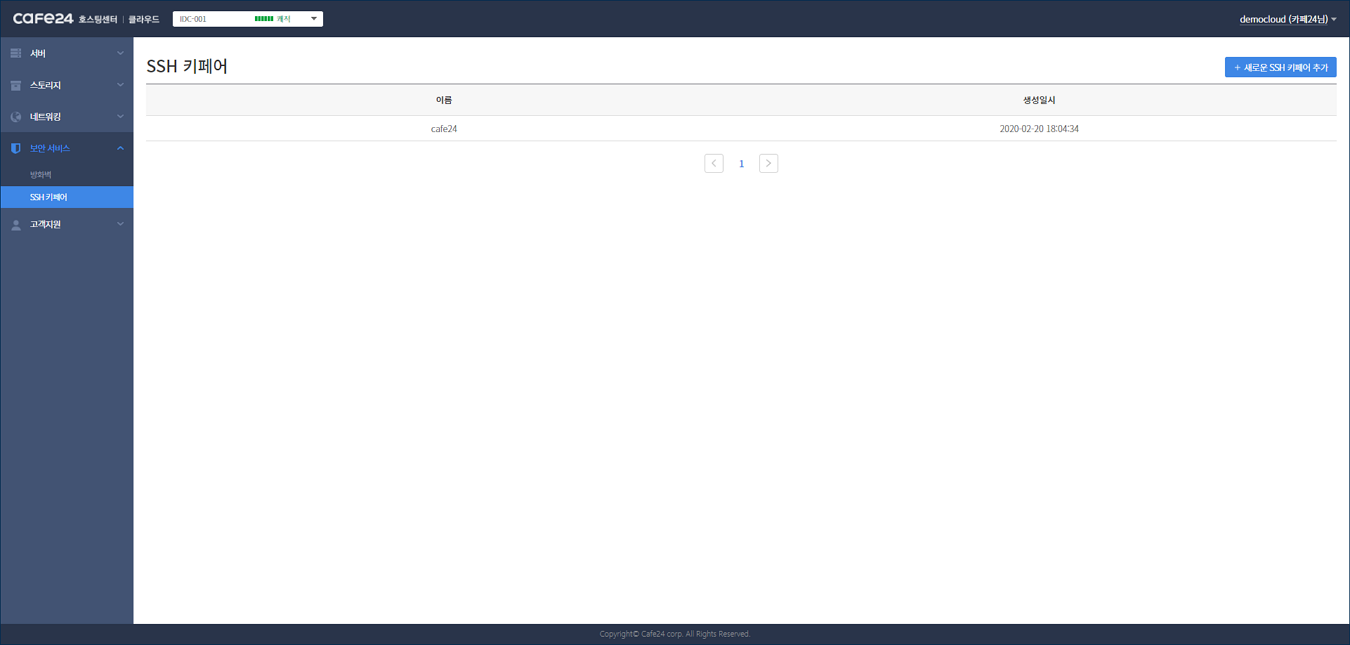
<mark style="background-color:blue;">보안 서비스 > SSH키페어</mark>

우측 상단의 "새로운 SSH 키페어 추가" 버튼을 클릭합니다.

<figure><img src="https://filesystem.cafe24.com/hosting/cloud_service/2020/03/10/7511ed027a5e0a05831093d2a26ef61a_1583807942.png" alt=""><figcaption></figcaption></figure>

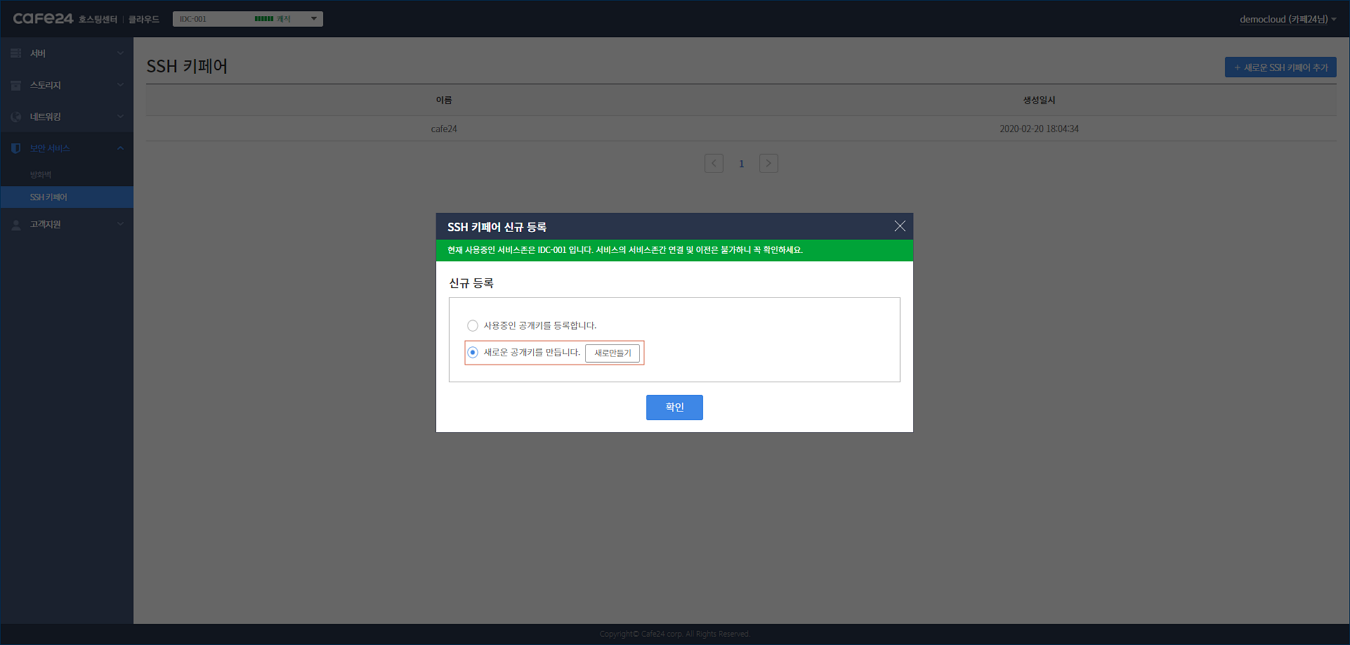
**새로운 공캐키를 만듭니다** 를 체크 후, "새로만들기" 버튼을 클릭합니다.

<figure><img src="https://filesystem.cafe24.com/hosting/cloud_service/2020/03/10/16244470e15894722554705c6ee07c47_1583807963.png" alt=""><figcaption></figcaption></figure>

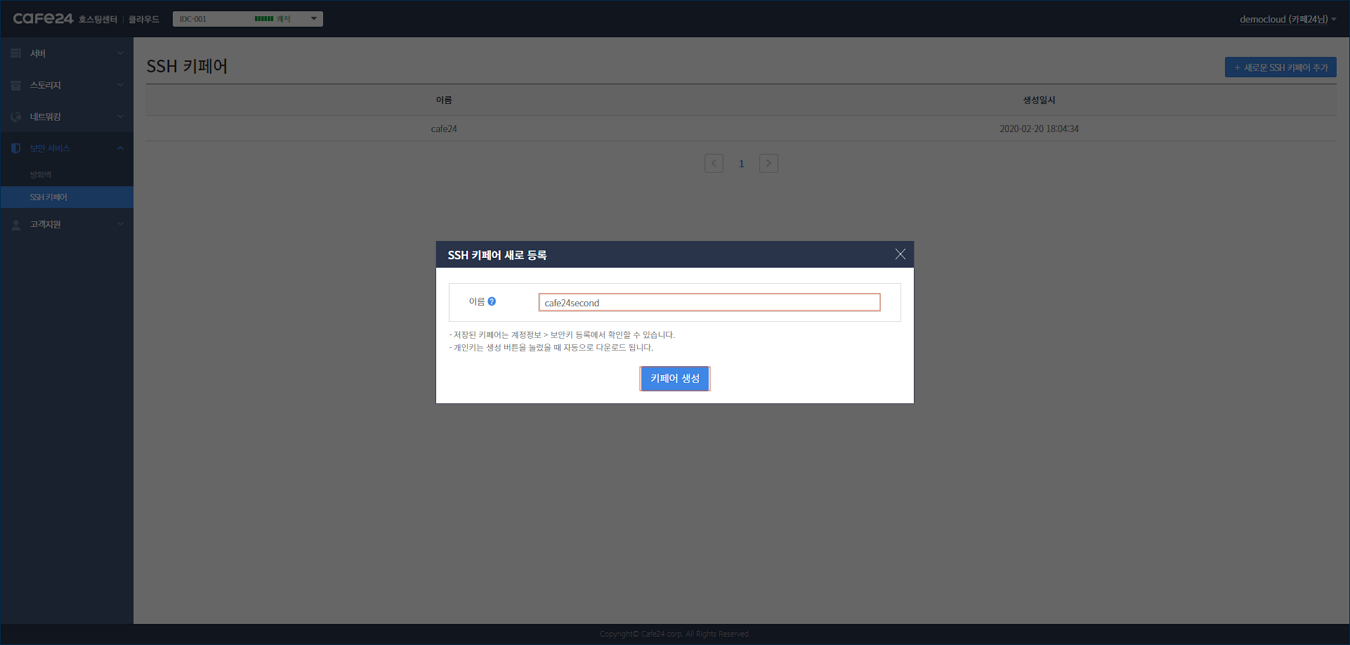
SSH 키페어의 이름을 입력하고 "키페어 생성" 버튼을 클릭힙니다.

{% hint style="info" %} <mark style="color:blue;">**참고 사항**</mark>

SSH 키페어의 이름은 공백을 제외한 영어, 숫자만 사용하여 20자까지 입력할 수 있습니다
{% endhint %}

<div align="left"><figure><img src="https://filesystem.cafe24.com/hosting/cloud_service/2020/03/10/750007ba0930b8c2bb246c2e2c24562d_1583807883.png" alt=""><figcaption></figcaption></figure></div>

생성한 SSH 키페어를 클릭하여 공개키를 확인합니다.&#x20;

<div align="left"><figure><img src="https://filesystem.cafe24.com/hosting/cloud_service/2022/09/29/3325561a813674f2396a17cd60f5c21f_1664433588.png" alt=""><figcaption></figcaption></figure></div>

확인한 공개키를 복사하여 가상서버 내의 **authorized\_keys** 파일에 저장해주시기 바랍니다.

```shell-session
# sudo su - cafe24
# pwd
# mkdir .ssh
# chmod 700 .ssh
# touch .ssh/authorized_keys
# chmod 600 .ssh/authorized_keys
# vi .ssh/authorized_keyse
```

<div align="left"><figure><img src="/files/1DlqzAJ7RlvZ5r6GE7RF" alt=""><figcaption></figcaption></figure></div>


---

# Agent Instructions: Querying This Documentation

If you need additional information that is not directly available in this page, you can query the documentation dynamically by asking a question.

Perform an HTTP GET request on the current page URL with the `ask` query parameter:

```
GET https://docs.cafe24cloud.com/home/security/keypair/useradd.md?ask=<question>
```

The question should be specific, self-contained, and written in natural language.
The response will contain a direct answer to the question and relevant excerpts and sources from the documentation.

Use this mechanism when the answer is not explicitly present in the current page, you need clarification or additional context, or you want to retrieve related documentation sections.